City with Flying Car and Robot
Hello,
This shot was done using Blender and Davinci Resolve.
Originally the shot started as a request for a building design. My brother designed a building and I designed one. I textured and placed the building in a city scene I got from blendswap.com The below image is a building I designed. This was a test shot with a quick texture for the bottom part that was fiddly with the size.
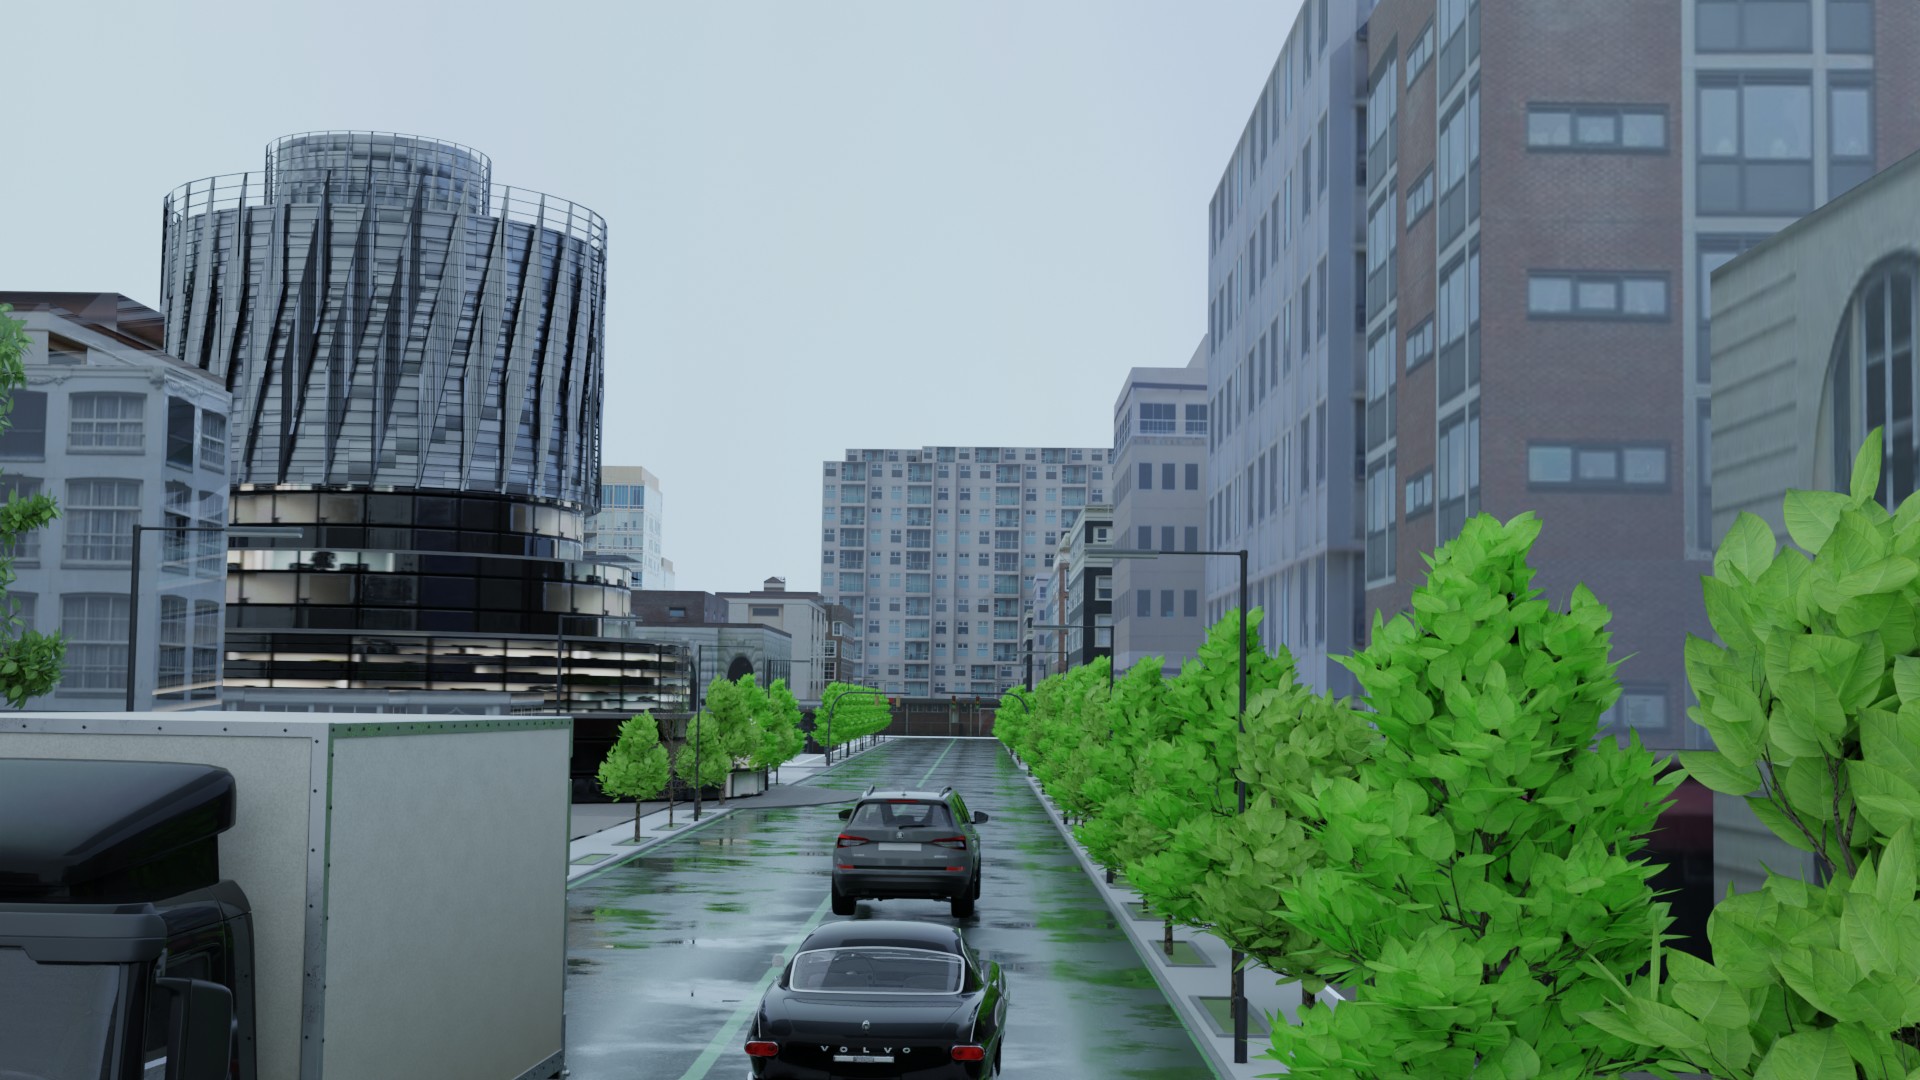
I kept adding elements that I thought would make the scene a little better, like trees and utility poles cars. Geometry nodes came out and after trying different nodes I was able to simply put trees on the street. I removed the trees that were already in the scene and replaced them with geometry node trees. One tree object was scattered in a line with different rotations and heights. I made a planter for the base and used a free tree I got from cgtrader.com.
Then I wanted to make an animation showing off the building of the scene. I tried keyframing the camera and the result was a weird camera motion that wasn't fluid at all. The bezier curves or handles kept making the animation ease in at the beginning of the animation and ease out at the end. I wanted a uniform camera motion. So I found a tutorial about how you can place items on a path.
The following was helpful although I used the follow curve feature.
I was able to make a circle Nurbs path and attach the camera to that. I then fiddled with placement and size of the nurbs circle until the camera was in place.
I then I decided on an shot from a helicopter. So I moved the camera high above the town, and duplicated the street with buildings, added in an image plane of a city.
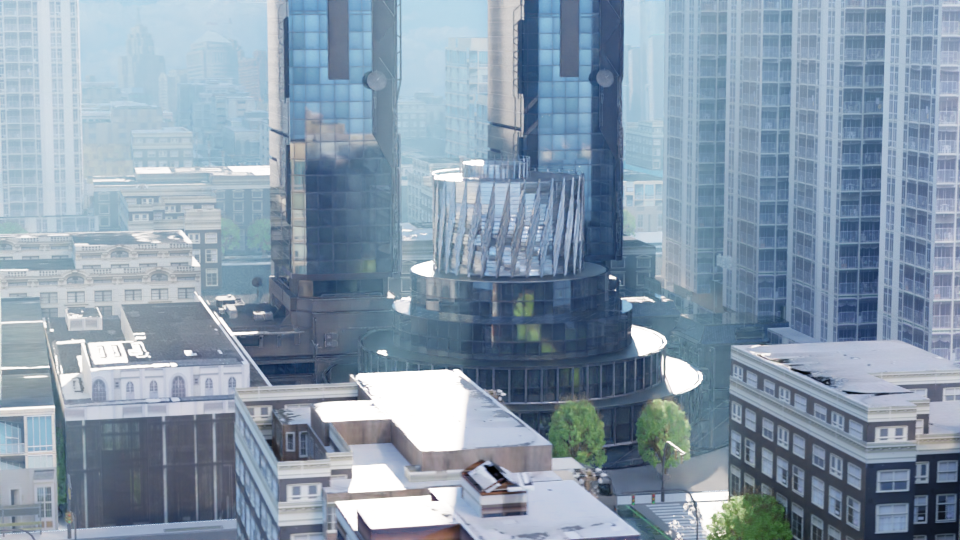
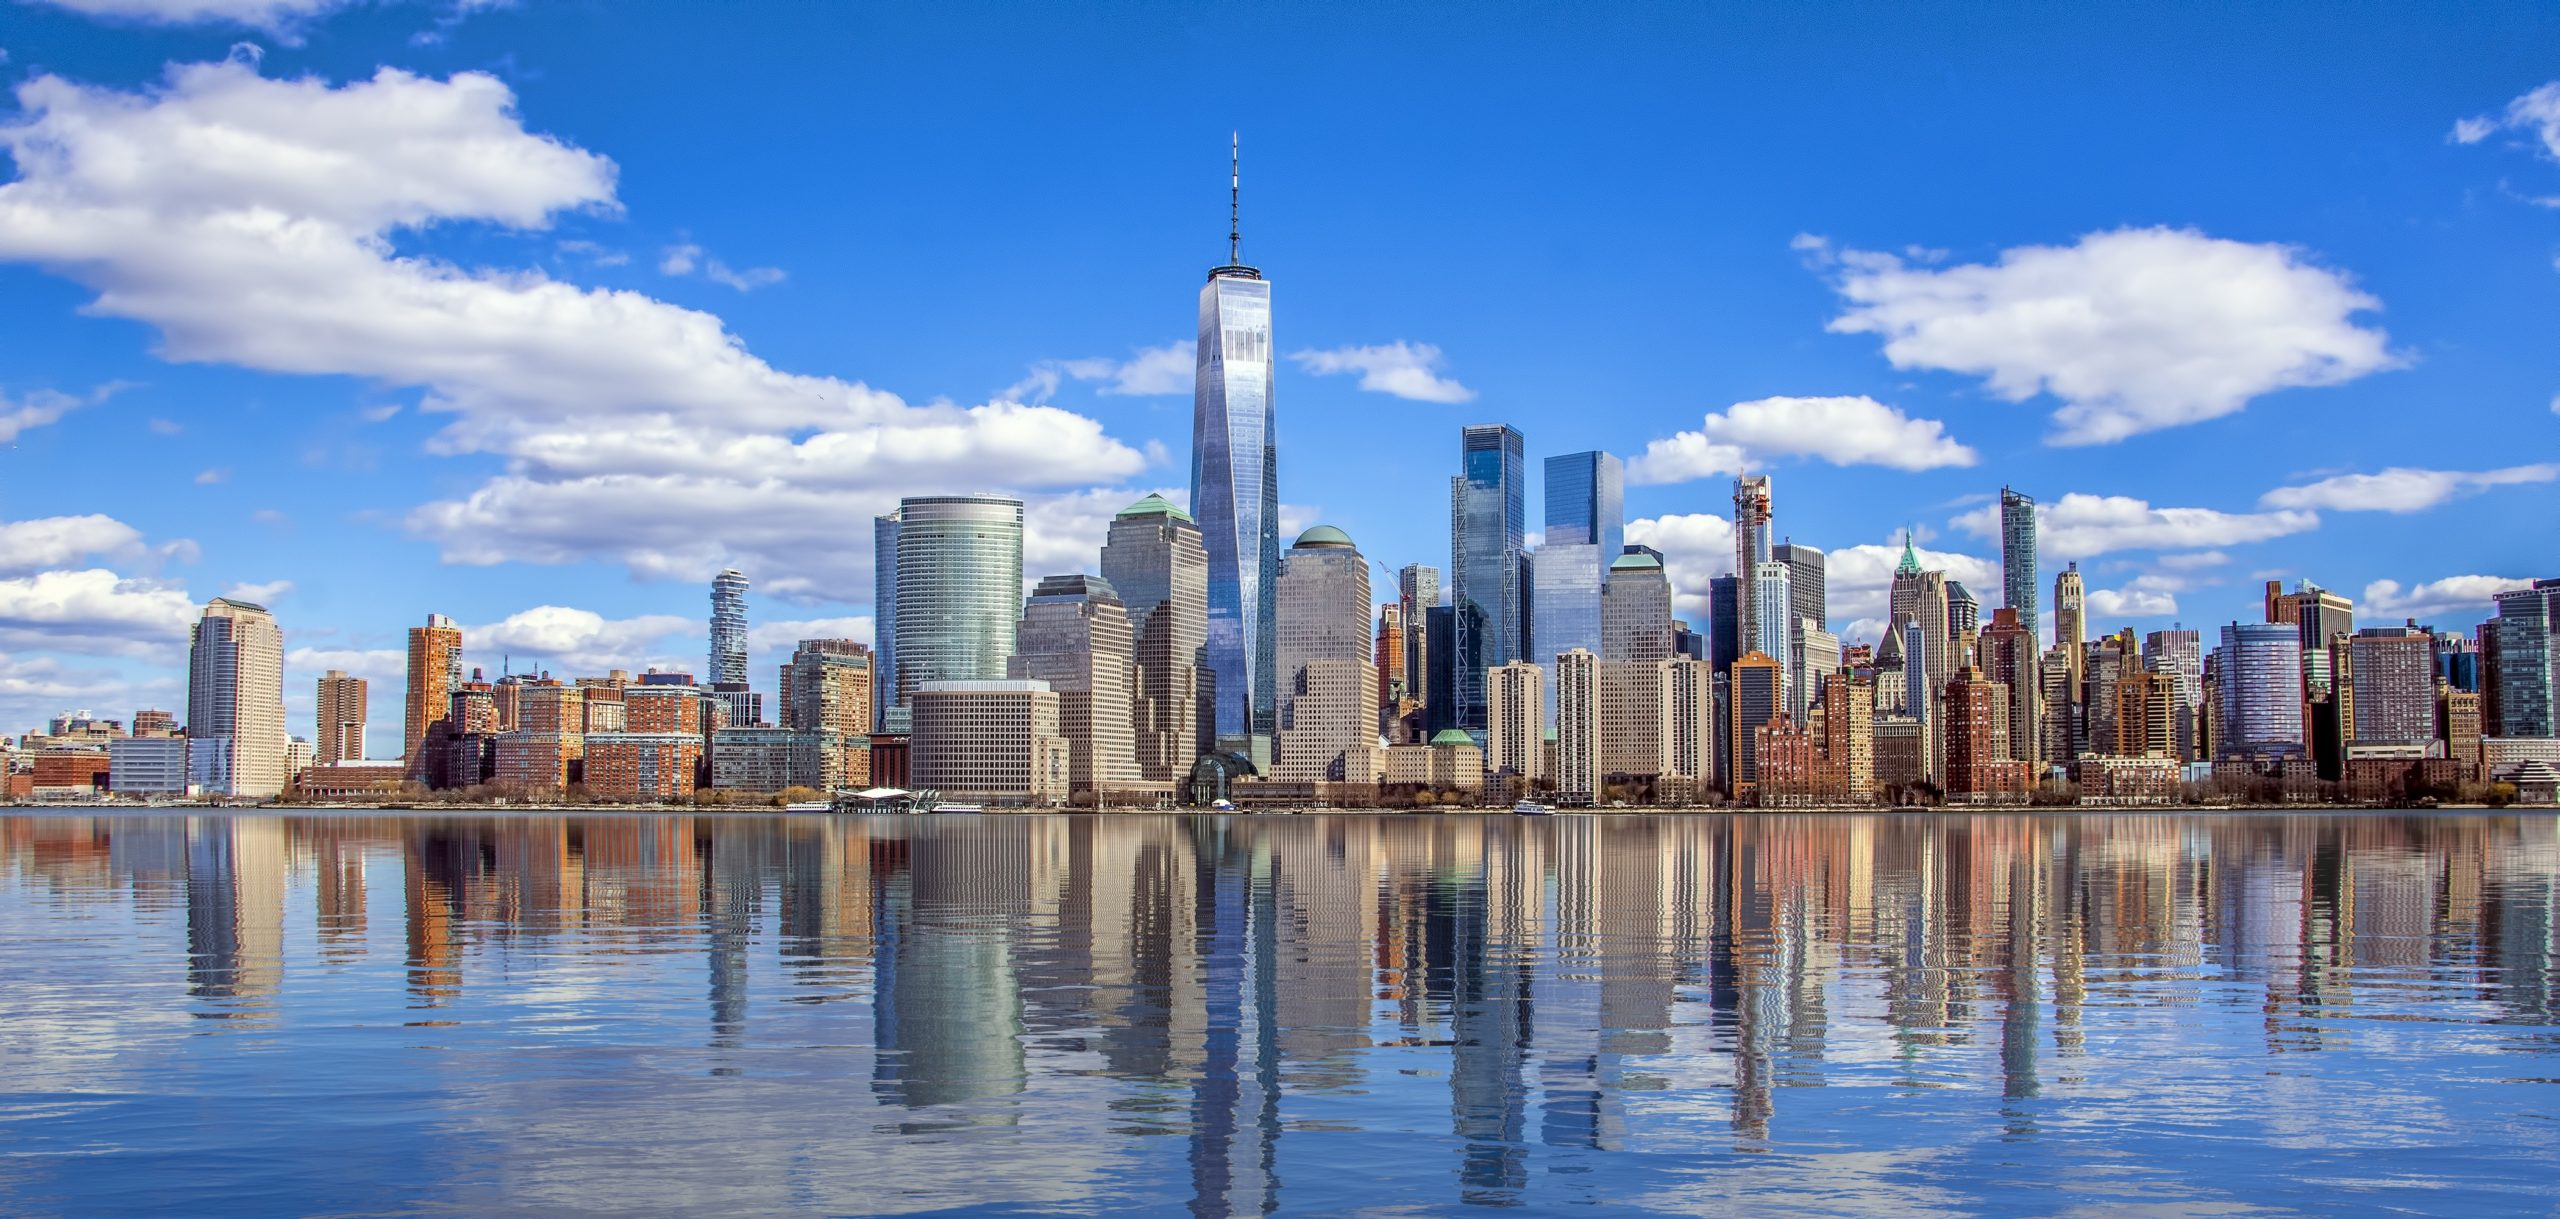
as a background and created a large city. The textures are all low rez, otherwise my computer I'm using would not of been able to do this shot.
Then I saw the infinite Journeys Contests on the web, (Clinton Jones) and decided I could make the animation with a character and foreground element.
I found a helicopter with interior on blendswap.com and added some simple textures. I also found a car seat that looked good because all the airline type seats that were free weren't so good. 
I added a chair and some dirt on the windows.
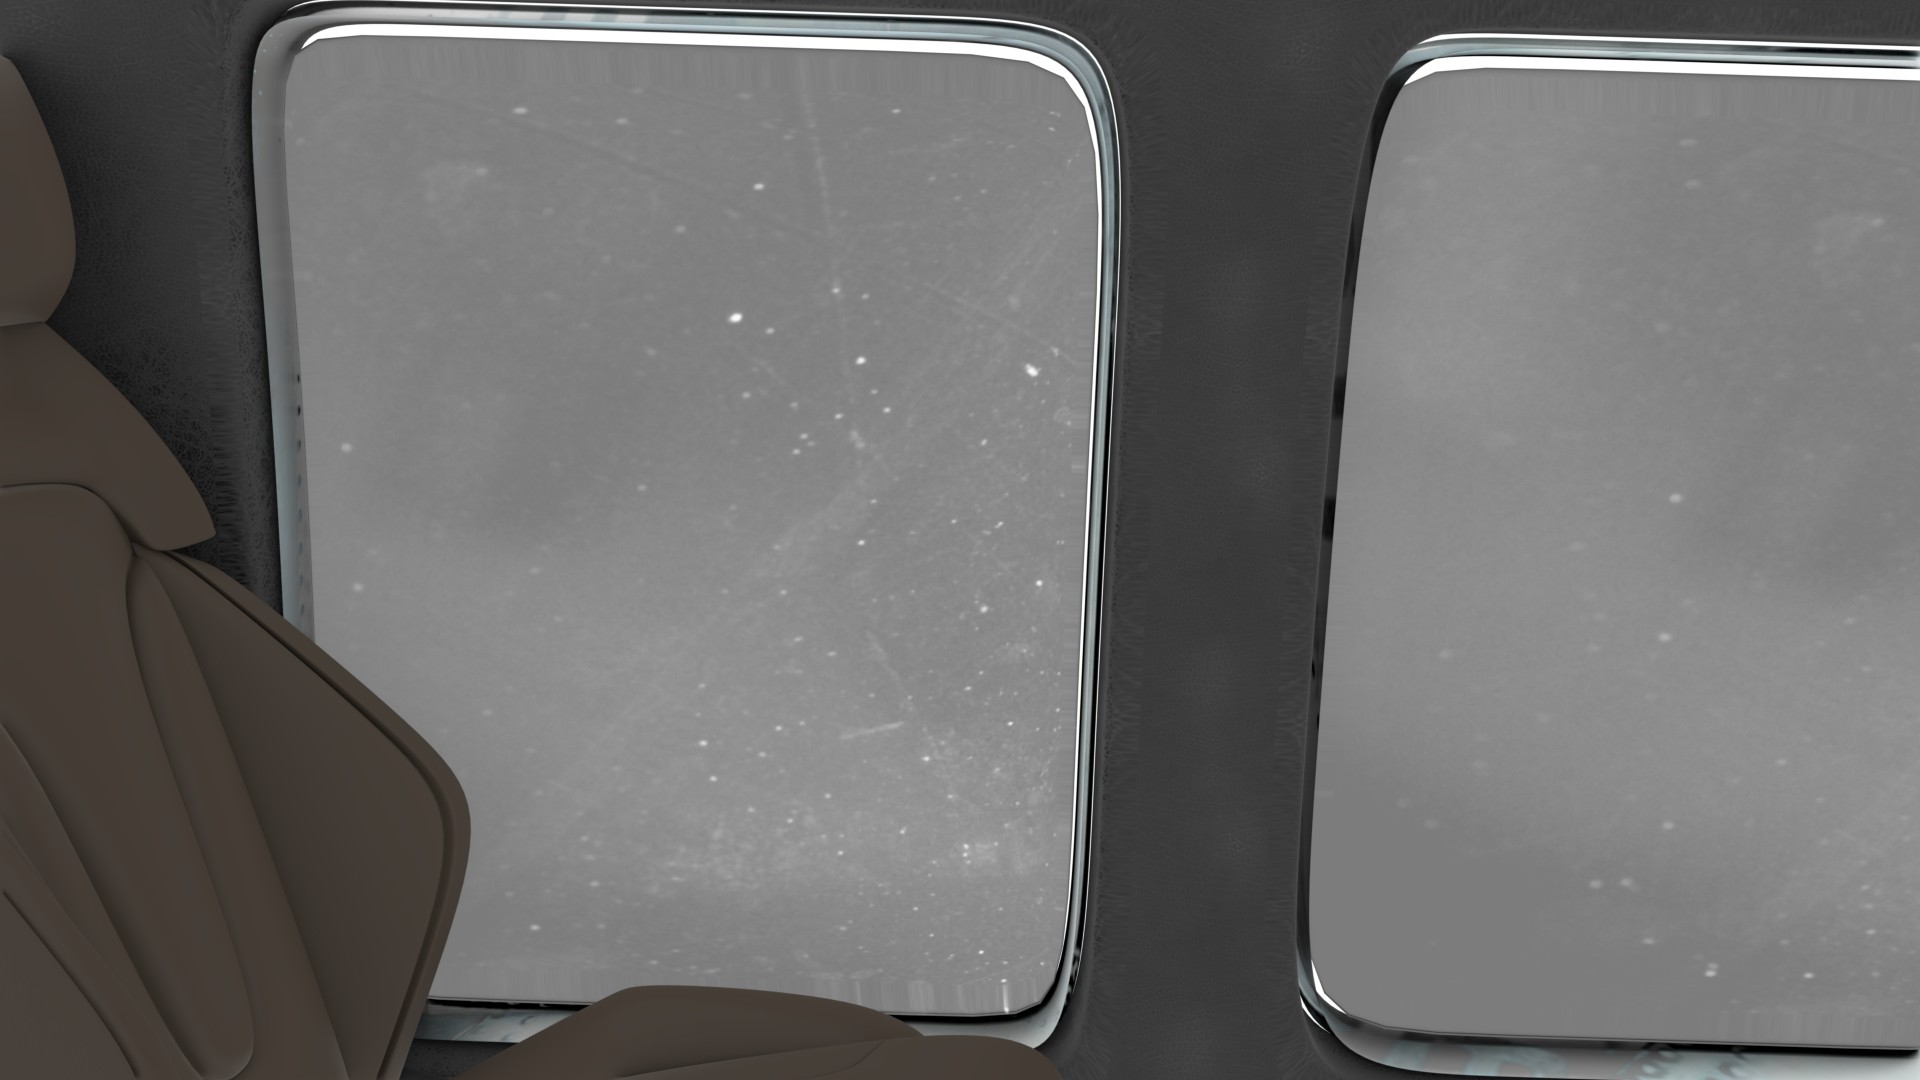
Then I realized I need to make the surface of the window transparent with an alpha and realize I didn't know how to do that. Blender has under the render tab a section called film. Under Film you select transparent. Now the window still shows the dirt but shows the transparent background (alpha) Be sure to save as an exr or png with alpha. (rgba)
So I found a carbon fiber texture I tweaked for the seat, and edited the model to remove the pillar so you had a better view of the outside. Stuck on a detail from kit ops, drag and drop, and used a leather texture from the blendkit addon. I also used that texture for the inside of the helicopter. The tough part is sizing the texture.
Then I looked for a character and decided a corporate looking guy in a suit would look interesting. I found a corporate suit type of body without a head or hands on blendswap.com So looking for heads I didn't like any I found even though I found full body characters where you can cut and paste the heads and hands I decided a robot would be more interesting because the building was modern and would be more interesting. I found a robot head rig and robot hands on Blendswap also. So now I appended the head and arms to the scene I was working in and then joined the object into one object. The suit character was in an A pose, and up to now I've had a lot of trouble rigging characters. So to simplify and to be quick I used Mixamo. A website with motion capture data and auto rigging.I was able to upload my character and choose a sitting mocap and apply that to the camera. I used this tutorial to help me get up to speed on Motion Capture.
I was happy to find that not only did the Mixamo rig the character but the hands also if you choose that setting, and correctly too. After I had the character in a sitting pose and used the Mixamo add on for blender to rig the character with control Points were added and with Ik too also. The motion capture data was very jittery. To fix that I opened the graph editor and selected the new control points for the bones that the Mixamo add on made and used Alt O to smooth the motions. I then realized less keyframes are better and used the decimate keys in the graph editor that reduced the amount of keys in the motions until they were very smooth. Reducing the keyframes 90%. I used alt O a few more times and got something that was smoother. I found the head control point, (A empty in the shape of a circle) and went to the graph editor and deleted all the keyframes. Then I animated the head turning and looking down, as if it were looking at something outside the window.
I wanted to separate the foreground cabin with the background city. Two reasons. With the foreground I could put anything in the background. Second, I can now have 2 scenes in which the computer could render. If this had been one scene I wouldn't have had enough ram to render. In Resolve You can do things like add camera shake to simulate the helicopter flying, with one simple node. (camera shake)
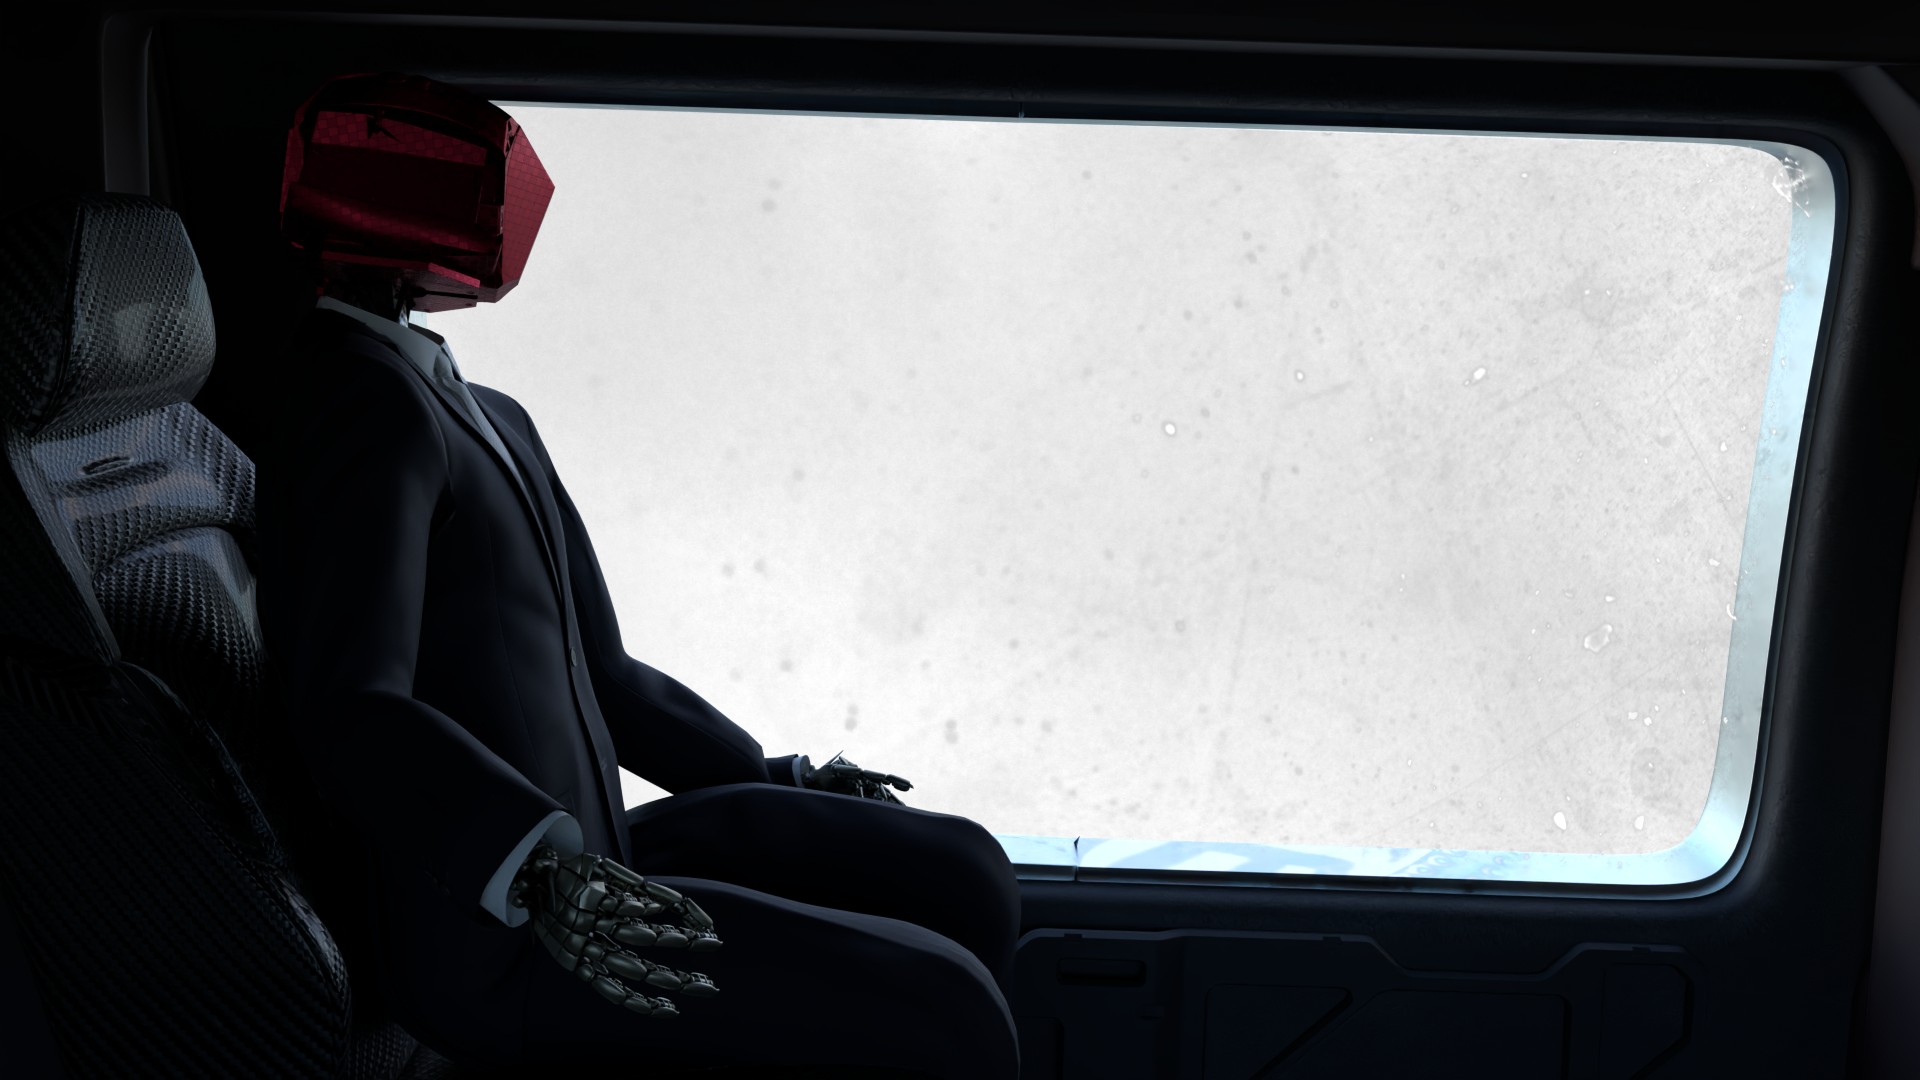
The White part is actually the alpha map. I used a dirty image I found on google.
I had rendered out the camera shot attached to the nurbs circle and called that city. I then rendered out the foreground with the helicopter and robot character. I used the workbench feature of Blender in the render tab. This rendered out 200 frames of the animation if a few minutes. I set the output to frames and made directories called frames and subdirectories called city and character. This would be important to bring these into Davinci Resolve.
I frames into. Davinci Resolve. Using the loader I selected the folder with the frames for the city. Then I added a loader for the frames with the helicopter. In blender I rendered out the frames as png and with rgba. If you don't then there is no alpha channel. I then used a merge node and a bitmap node to help with the alpha. I Then found a really high quality Car in Blendswap again.
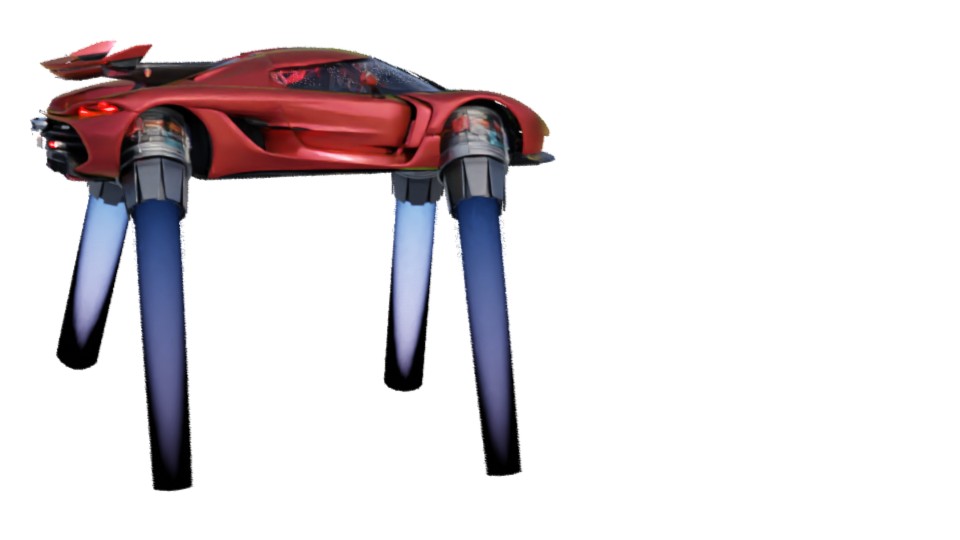
I also found a Jet engine and nozzle Objects on Blendswap also. I created a null and parented both objects to it. Then I duplicated that 4 times and placed them in the wheel wells. I then added in the noise modifier to the rotation channels of each one. The Nozzle object had a great little null that controlled the height of the flame and opening and closing the nozzle. Obviously I deleted the tires from the original car object. And after that, flying car. Again I used the film section in the render tab and turned on transparent. I then created a folder in the frames folder called car and had blender render out 200 frames of the car, being careful that the car does not leave the frame. (No clipping of the front or back or sides or rocket exhaust.) This way in Resolve I could move the care in the frame anywhere.
Here you can see part of the node tree for Resolve, a few blurs, camera shakes, merge nodes, resize glows and soft glows.
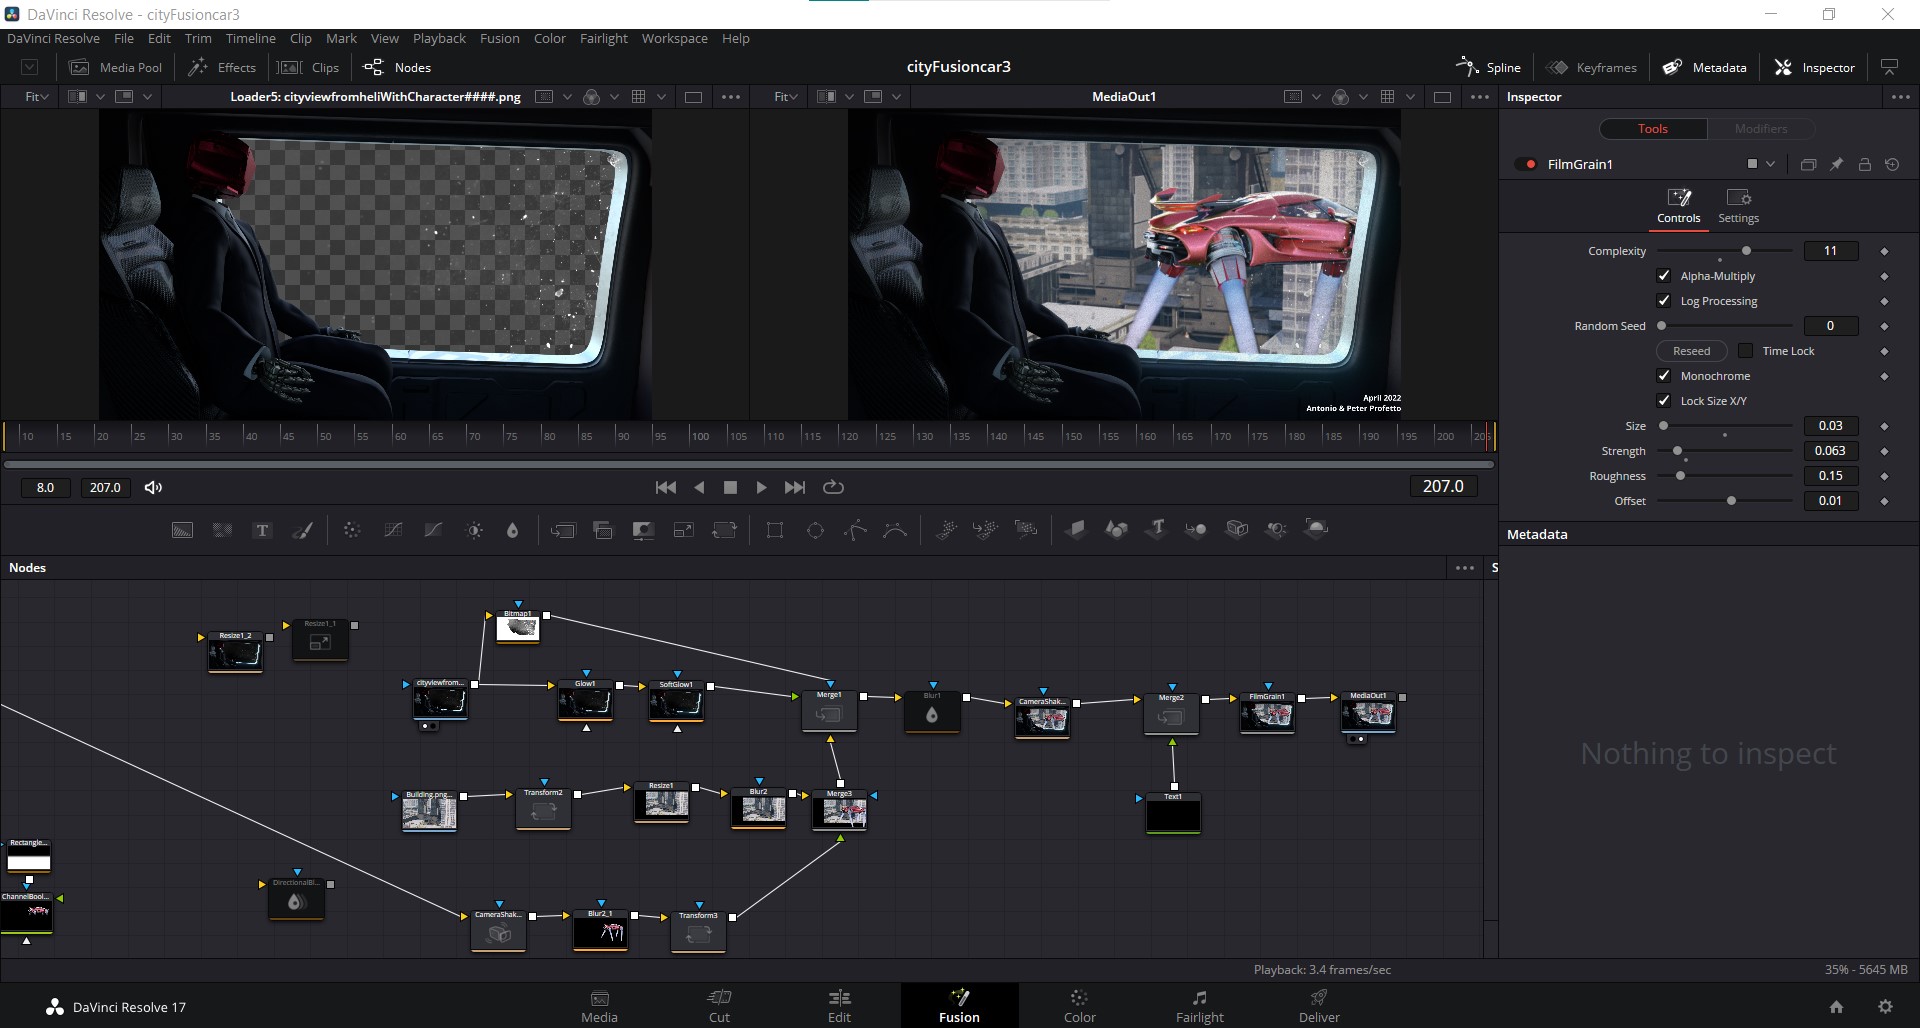
This node tree shows how I used several nodes to remove the black outlines. Because of the weird way the nozzle setup was in blender (not a single cylinder), (an array of disks) For some reason the render had black outlines on the lower portion of the exhaust. The lumi Keyer and channel boolean was essential for this. I was then able to add a camera shake.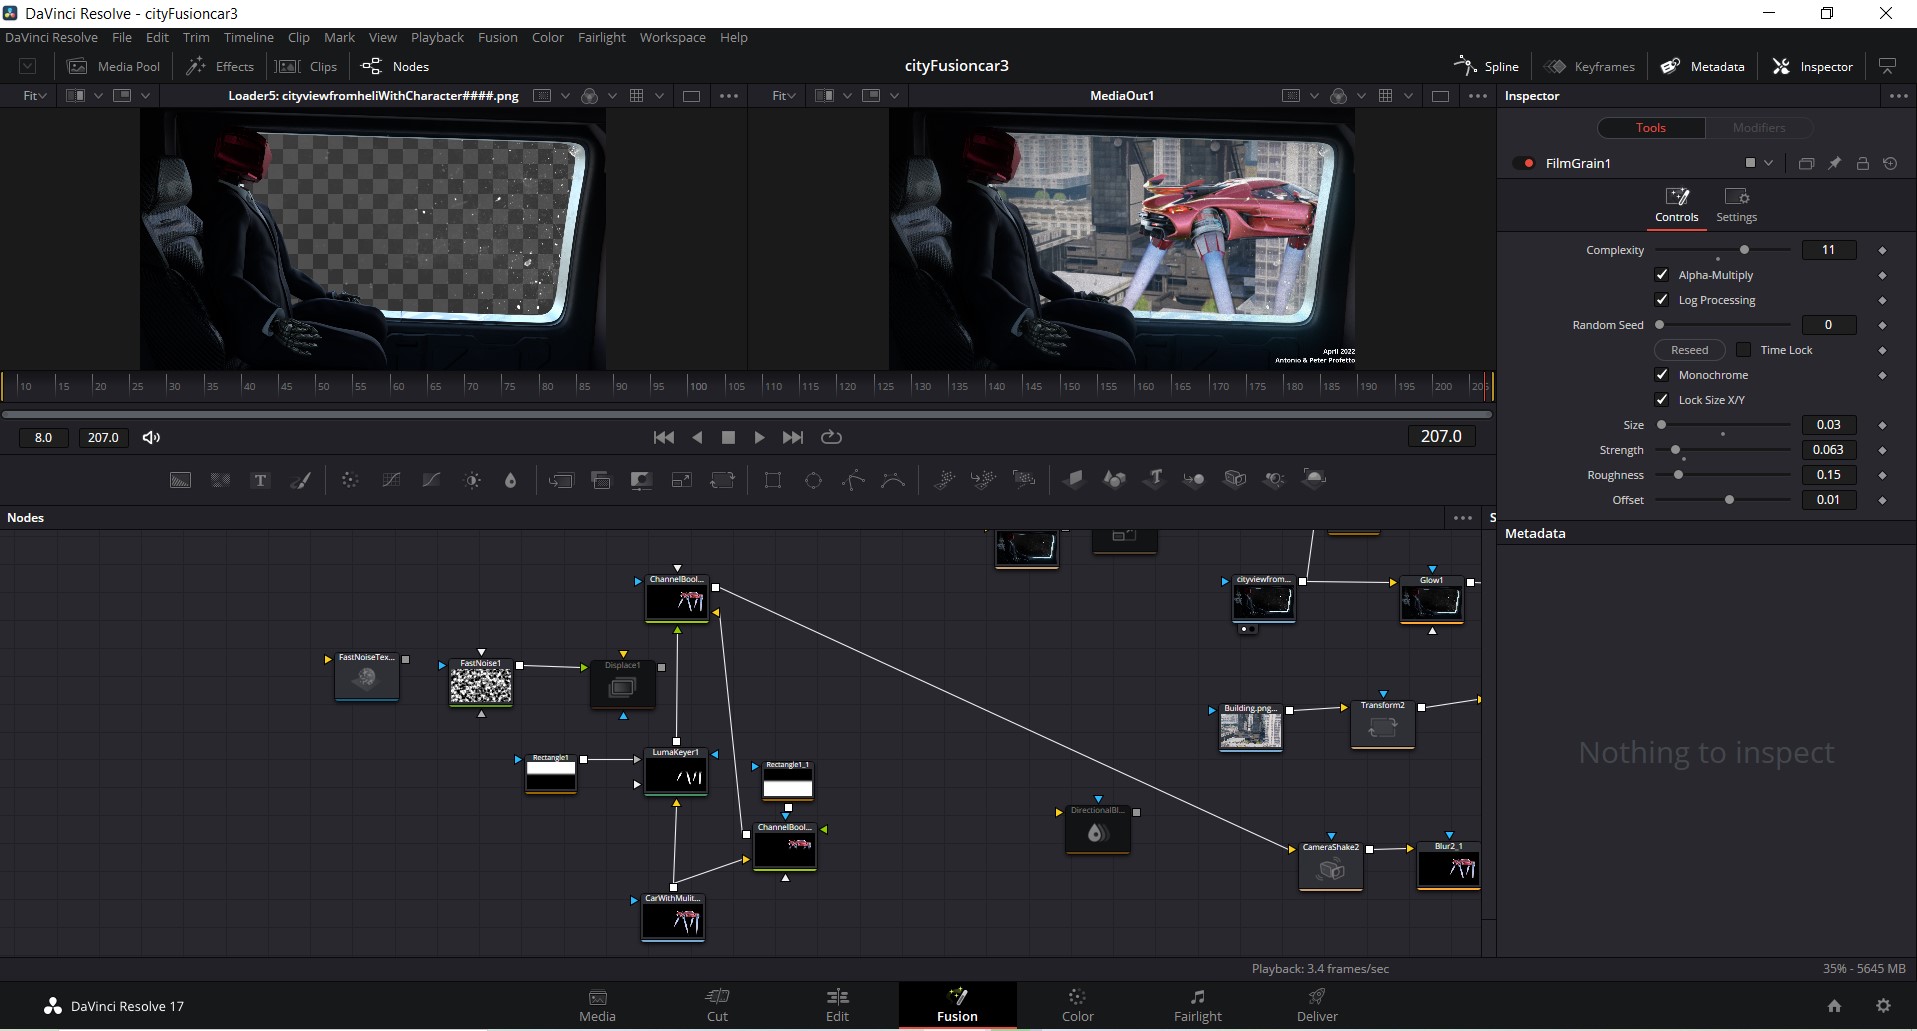
The below animation has a Chappie Model You can download here, and
This is a different but similar version of the city scene. Changed a few things. Keyframe animation vs a Keyframe mocap combo in the first Video. Props to the person who made and released the free chappie model that was rigged nicely. Was able to make the flames a bit more see through, but not more flame like yet. Animating Chappie with keyframes was an exercise in using the graph editor. Once I started getting used to that, Was fun.
I used this tutorial to animate the head.
I then used the techniques to clean up motion capture to clean up the head motion.
I hope this Article shows you a little about the processes I used to make the animation.
- Log in to post comments